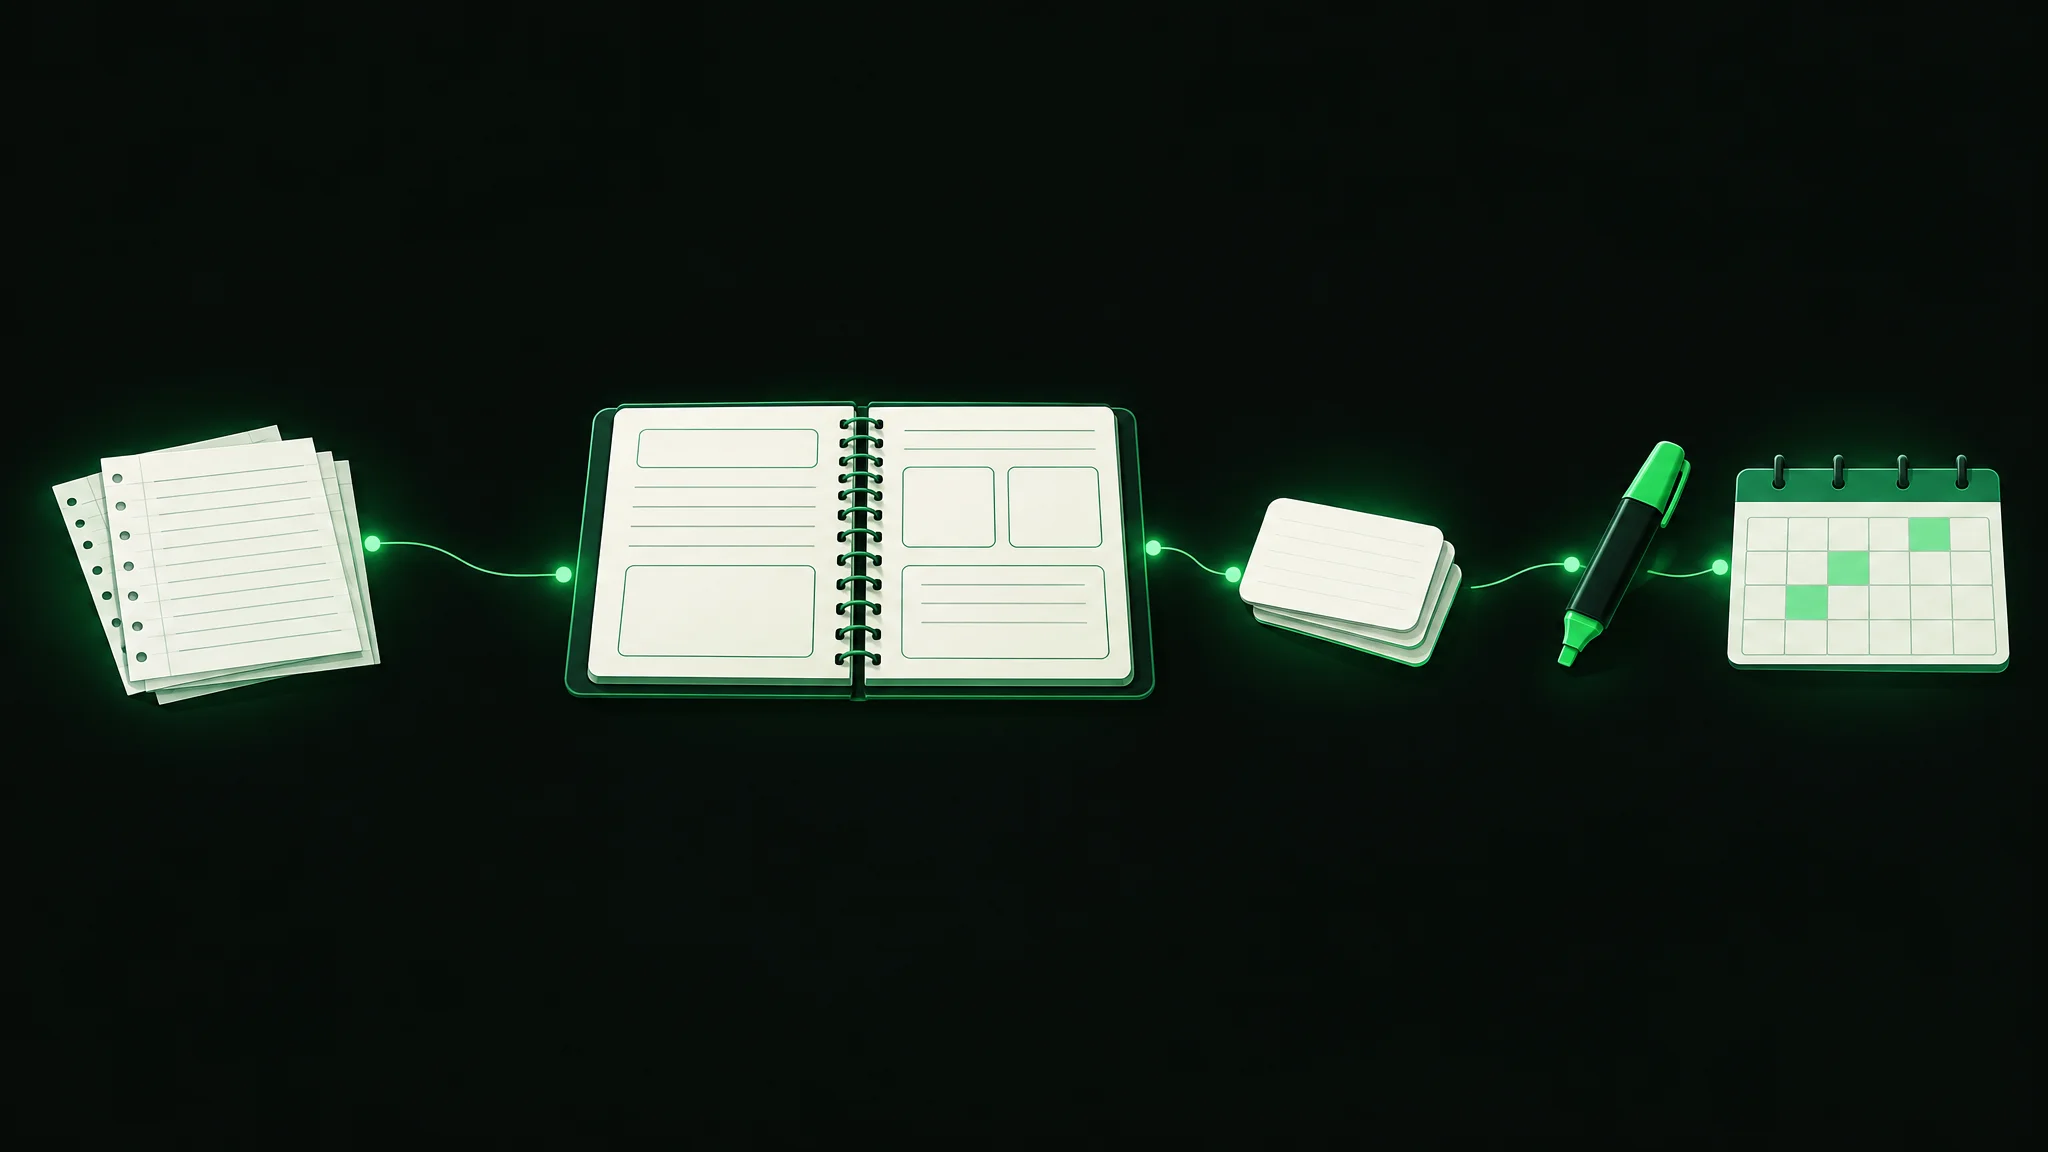
How to Make a Study Guide: 8 Steps + Free Template
To make a study guide, find out exactly what your exam covers, gather your notes and readings in one place, rewrite the key ideas in your own words, turn each topic into practice questions, and then test yourself on those questions over several days. A good study guide is something you quiz yourself with, not a second copy of your notes. Here’s a quick reference guide you can use to make a study guide for any class, plus a free printable study guide template you can use for your next exam.
| Step | Action | When (7-day plan) |
|---|---|---|
| 1. Find out what is on the test | List exam topics from the syllabus, course schedule or learning objectives | 7 days out |
| 2. Gather your materials | Collect notes, slides, readings and past quizzes in one place | 7 days out |
| 3. Start with the hardest topics | Rank topics by confidence and begin with the weakest | 6 days out |
| 4. Condense into your own words | Write key concepts in your own words, hardest topics first | 6 days out |
| 5. Choose a format | Add a comparison chart or concept map where ideas connect | 5 days out |
| 6. Turn topics into questions | Turn objectives into questions in the exam's format | 5 days out |
| 7. Test yourself and space it out | Cover the answers, answer from memory and mark misses | 4 and 2 days out |
| 8. Check it and fill the gaps | Check the guide against the syllabus and any instructor review sheet | 3 days out |
Try the Quiz generator
What you need to make a study guide

Before you start, put these things on your desk or in one folder on your laptop: the course syllabus or schedule, any learning objectives your instructor posted, your lecture notes, the assigned readings or textbook chapters, slides and handouts, and any past quizzes or homework with feedback. You’ll also want a blank Word document or sheet of paper, pen, and highlighter.
Also find out two facts about the exam: whether it is cumulative, and what the question format is (multiple choice, short answer, fill in the blank, essay or a mix).
Step 1: Find out what is on the test
Decide what information to include. This is probably the most important part of learning how to make a study guide. Make a list of topics that will be on the exam. Go through the course schedule in your syllabus to make a list of all of the topics you need to cover for your upcoming exam. Note which lectures and chapters each one comes from, and add any readings or discussions that will be tested. If readings will not be on the exam, you do not need to spend time on them.
If your instructor gave you learning objectives, use them. The Dennis Learning Center's study guide workshop describes questions that target learning objectives, if you have them (otherwise just the list of topics for the exam), as the ideal study guide questions.
Example: Let's say your exam covered lectures 22-31 and chapters 12-15 of your biology book and dealt with topics such as "heritable traits, mitosis and meiosis, genetic variation". You might make a list of these topics and note which lecture(s) and chapter(s) dealt with each topic.
Common mistake: studying all of it “just in case.” Without a topic list you will spend time on material that is not tested.
Step 2: Gather your materials in one place
Sort materials by topic. Bring together your class notes, textbook chapters, slides, handouts and past quizzes for the topics on your list. As you’re doing this, pay attention to what you understand well and what you’re still fuzzy on. Consider highlighting any important definitions, ideas, or formulas as you go.
You can also use an AI note taker to turn a document into study notes if your information is spread across different formats. It’s always easier to summarize and condense information when it’s all in the same format!
Common mistake: starting to write the guide before you have all the material, then finding a missing lecture the night before the exam.
Step 3: Start with the hardest topics
Rate your level of understanding for each topic. For each topic on your to-be-learned list, give yourself a score for how well you understand the material. For example, a 1 could mean you’re completely lost, a 2 might mean you sort of get it, and a 3 could mean you’ve totally got this down. Tackle the hardest material first. Once you’ve assessed your level of understanding for each topic, start working through the material you understand the least first. This way, if you still don’t understand the material after going through it a second time, you can ask for help, attend office hours, or seek other resources with plenty of time to spare before your exam. Don’t forget the easy stuff! While you’ll want to start with the topics you’re fuzzy on, don’t completely ignore the topics you breezed through last time you encountered them.
Example: If you understand the cell cycle but aren’t as strong on meiosis, then start with writing the meiosis section.
Common mistake: You start with easy/familiar stuff, because it makes you feel like you're making progress. Then you run out of time and don't get to the stuff you were supposed to review.
Step 4: Condense your notes into your own words

This is where most of the learning happens. Condense your notes and readings. Condensing information can help you focus on the most important information and leave out unnecessary details. When condensing your notes, be sure to summarize the information in your own words instead of simply transferring your notes to a different document. Transferring notes doesn’t count as condensing!
Utah State University's academic support center says the purpose of a study guide is to organize lecture notes and textbook material so you can understand and remember large amounts of information. Regarding creating study guides, it recommends breaking up course content into more manageable (and therefore memorable) pieces, highlighting connections among ideas, and including practical examples to illustrate the real world applications of the material.
Example: Describe osmosis in one sentence using your own words (not copied from your textbook) and provide an example (such as how a wilting plant perks up after being watered).
Common mistake: writing a guide as long as your notes. If your new document is anything close to as long as your original notes, you didn’t condense your notes.
Step 5: Choose a study guide format that fits the material

The best format depends on the subject and on what the exam asks you to do. Many professors expect more than memorized definitions, so pick a layout that shows how ideas connect. Here are a couple ideas to get you started:
| Format | How it works | Best for |
|---|---|---|
| Outline | Headings, subheadings and bullet points from general to specific | Breaking up dense text in any subject |
| Question and answer columns | Questions on the left, key concepts and summaries on the right; cover the right side and quiz yourself | Self-testing on any subject |
| Comparison chart | Items you are comparing down the side, characteristics across the top | Differences and similarities among theories, processes or facts |
| Concept map | Key terms connected by lines to show relationships | Seeing how ideas connect; vocabulary-heavy subjects |
| Timeline | Events or steps in order | History or any content with a sequence |
| Concept cards | Index cards with the key idea, an organizing term and the source on the front, and what matters most in your own words on the back | Going beyond definitions to examples and summaries |
Think of concept cards as “flash cards on steroids.” On one side of the index card, jot down the concept along with any related information (ex: what subject/unit the concept relates to and where the information can be found). On the other side, include what matters most about the concept in your own words, with a related example or diagram. For plain definitions, regular flashcards are enough; our guide on how to make flashcards covers paper, app and AI options.
Step 6: Turn every topic into practice questions
Instead of creating a study guide filled with summaries and facts to regurgitate on your next exam, consider turning your study guide into a list of questions to answer. If possible, try to write your questions in the same format they’ll appear on your exam (ex: multiple choice, short answer, fill in the blank, etc.). Say a learning objective reads “explain the transfer and modification of heritable traits from parents to offspring.” You may want to include questions like: How are heritable traits passed from parents to offspring? Why do offspring often look different than their parents? On the other hand, if “mitosis and meiosis” is a topic you know will appear on your next biology exam, you may want to include questions like: What are some key differences or similarities between mitosis and meiosis? List the steps of mitosis/meiosis.
Some strategies, such as practice testing and distributed practice, are more effective than others, such as rereading and underlining, according to a major review of 10 commonly used learning strategies summarized by the Association for Psychological Science. To practice retrieval, ask yourself questions about the material, and make an effort to recall the answer before checking to see if you’re right. Our explainer on active recall includes suggestions on how to do this effectively.
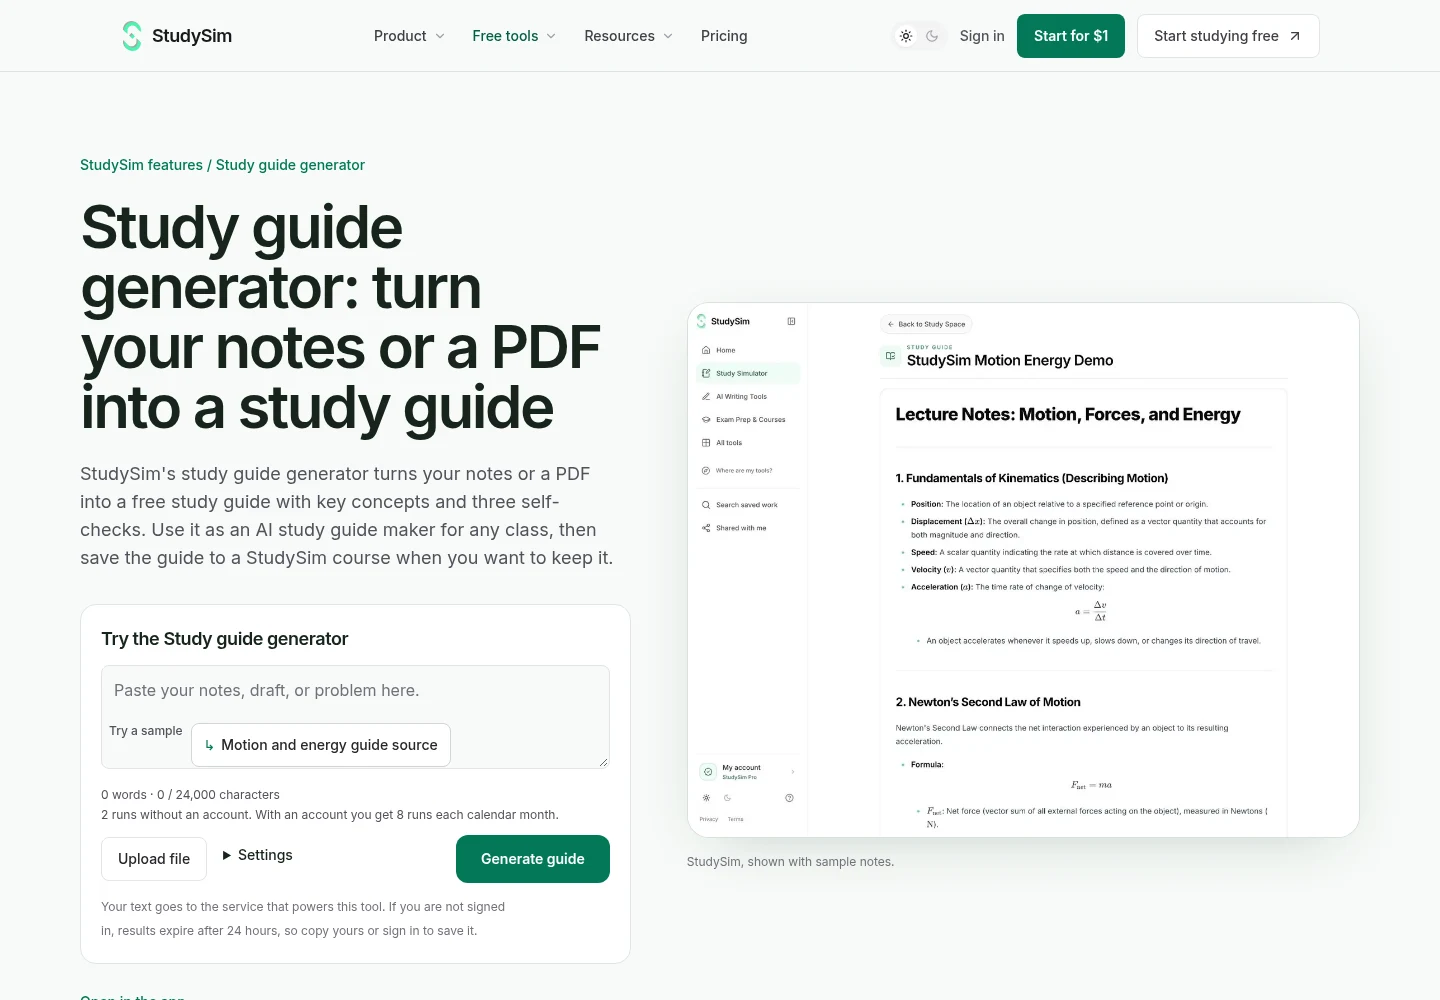
If you are short on time, StudySim's study guide generator turns your notes or a PDF into a concise guide with key concepts and three self-check questions, and the AI quiz generator makes a five-question practice quiz with answers and explanations from the same material. Check the output against your notes and syllabus, since a tool cannot know what your instructor will ask.
Common mistake: writing only definition questions when explanation, application or comparison is called for on the exam.
Step 7: Test yourself and space out your reviews
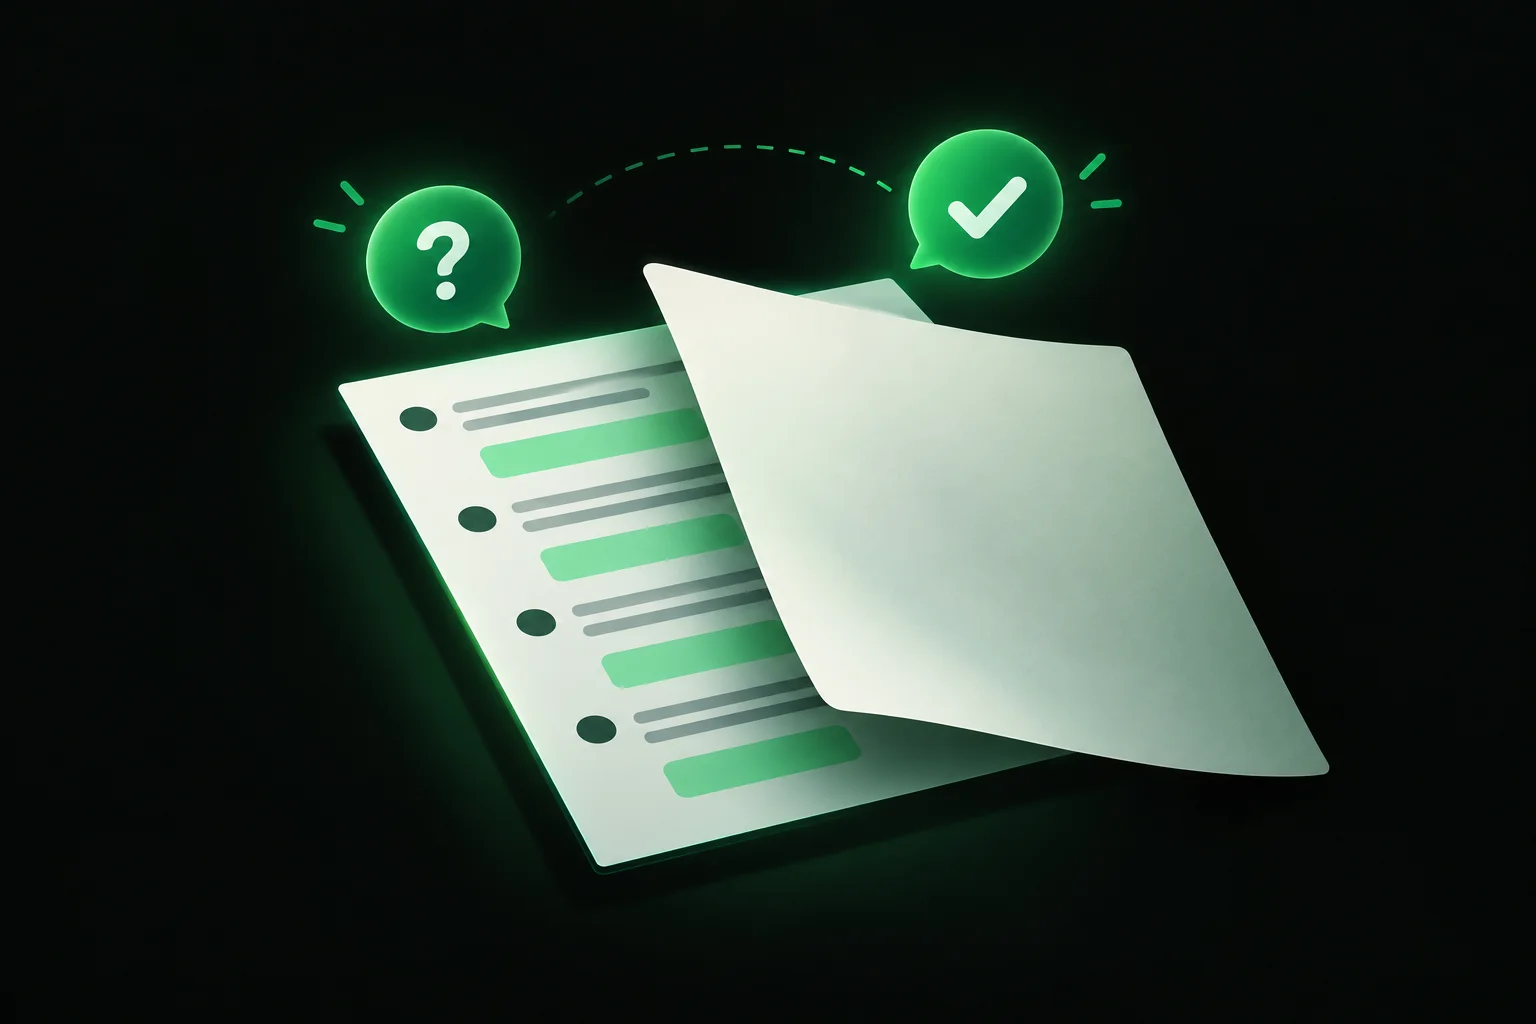
Use a piece of scrap paper to answer as many questions as you can without peeking at your study guide. If your study guide doesn’t include questions, cover up the answers and try your best to answer each question/topic/concept. Be sure to jot down any questions you struggled with or couldn’t answer at all.
Spread these sessions over several days instead of cramming the night before. For example, in a classic experiment by Roediger and Karpicke (2006), students studied a passage and were later tested on it, two days or one week later. Those who took recall tests on the passage remembered substantially more than those who restudied it, even though restudying made them feel more confident. Another study published in Science by Karpicke and Blunt (2011) found that practicing retrieval resulted in more learning than studying using concept maps. So, if you’re going to draw a concept map, be sure to test yourself using it!
To vary the practice, turn the guide's key terms into a deck and turn a PDF into flashcards, or take a full-length exam from the free practice test library, such as an SAT practice test or an NCLEX practice test. Our guide to turning a PDF into a practice quiz walks through the quiz route step by step.
Prefer a video walkthrough? Here’s a great tip from SchoolHabits on how to figure out what is on your exam and organize your study materials.
Common mistake: rereading the finished guide over and over. Recognizing your own writing feels like knowing it, but only answering from memory shows what you can recall.
Step 8: Check the study guide and fill the gaps
Go back to the questions you missed. Revisit these sections of your study guide and make sure you fully understand the material. You may want to rewrite this portion of your study guide. If necessary, visit your professor during office hours or attend a review session to make sure you fully grasp the concepts. Make sure your study guide aligns with your professor’s expectations. If your professor provided you with a list of topics/objectives to review before your next exam, be sure your study guide includes at least one question related to each topic/objective. Cross-reference your study guide with your syllabus, previous tests/quizzes, a classmate’s notes, etc. to make sure you’re on the right track.
Common mistake: treating the guide as done once it is written. The gaps you find while testing yourself are the most useful part.
Sample timeline: make a study guide in 7 days

Once you’ve created your study guide, it’s time to put it to good use! Here’s how to create a study guide and use it in the week before an exam. While it’s best to start a few days in advance of your exam, you can always shorten this process if necessary. If you’re short on time, try to test yourself at least twice on different days. Recognizing the information in your study guide is great and all, but you’ll walk into your next exam feeling much more confident if you practice recalling the information without your study guide in front of you.
| Day | Task |
|---|---|
| 7 days out | List exam topics and gather notes, slides, readings and past quizzes |
| 6 days out | Write key concepts in your own words, hardest topics first |
| 5 days out | Turn objectives into questions; add a comparison chart or concept map |
| 4 days out | First self-test: cover the answers, answer from memory, mark misses |
| 3 days out | Fix gaps; check the guide against the syllabus and any instructor review sheet |
| 2 days out | Second self-test under timed, exam-like conditions |
| 1 day out | Short review of missed questions only; sleep |
Study guide tips: common mistakes and how to fix them
Most weak study guides fail in the same few ways. Use this table as a final check.
| Mistake | Fix |
|---|---|
| Copying notes word for word | Paraphrase in your own words and cut unimportant details |
| Studying topics that are not on the exam | Build the topic list from the syllabus or learning objectives first |
| Saving the hardest material for last | Start with the hardest topics while there is still time to ask for help |
| Only rereading the guide | Turn topics into questions and test yourself from memory |
| Cramming the night before | Spread review sessions over several days |
| Only memorizing definitions | Add comparison charts, examples and questions that ask you to explain or apply |
You can find more evidence-based study tips in our guide on how to study effectively.
Free printable study guide template
Instead of making all of that from scratch for every exam, we created a study guide template for you! It’s two pages long and follows the steps above: a topic list with confidence ratings, key concepts in your own words, questions you need to be able to answer, a similarities and differences chart, space for formulas and gaps, a review plan for the 7 days before the exam and a checklist. Download the study guide template (PDF), then print as many copies as you need (one per exam) and fill it out as you go!
If you would rather start from a draft, paste your notes into the free study guide tool, which runs twice without an account and eight times a month with a free account, then copy the key concepts and self-checks into the template and keep testing yourself.
FAQ
What should a study guide include?
A list of the topics on the exam, the key concepts written in your own words with examples, practice questions in the exam's format, and visuals such as comparison charts or concept maps where ideas connect.
How do you make a study guide fast?
Build the topic list from the syllabus, start with the hardest topics, and write questions instead of long summaries. An AI study guide tool can draft key concepts and self-check questions from your notes, which you then check against the syllabus.
How far in advance should I make a study guide?
Start early enough to test yourself on several different days. Spreading study sessions out over time, known as distributed practice, was rated high utility in a major review of learning techniques, while cramming leaves no time to fix gaps.
Should I handwrite or type my study guide?
Either works if you write in your own words and test yourself. Herzing University's guide recommends handwriting when you can, or printing a typed guide, so you engage with the material instead of skimming on a screen.
Can AI make a study guide for me?
Yes. Tools like StudySim's study guide generator turn your notes or a PDF into a guide with key concepts and self-check questions. Check it against your class materials, since it cannot know what will be on an unpublished exam.
About the author
Jozef Gherman is the founder of XYZAI, the company behind StudySim, where he builds AI tools that help students and writers study smarter and write with confidence. He writes about study techniques, exam prep, and practical ways to use AI for learning.